.webp)
Instructions
It’s great to have you! This Quick Start Guide will show you basics on how to get started editing your website.
Customizing colors
To change the colors of your choice, simply go to Style tab > Typography and select the color you want to change. Click the edit icon in the lower right. Choose color and click Save. That's it.
SVG element color
In order to change the color of SVGs, Download .svg file from Assets and open it to any text editor. Change HEX color code with color of your choice and replace updated .svg file with the current file.
Changing fonts
Changing fonts
The fonts used in this template are free to use.
- Body (All pages): Changing the body font will affect all fonts on the entire site.
- Heading (All headings): Changing the heading font will affect all heading fonts on the entire site.
In case you want to change fonts, you can always go to Project Settings > Fonts and you will be able to upload any custom fonts, can use Google Fonts or even you can connect your Adobe Fonts account.
Once upload font from Project Settings, click on the orange selector option in the top right of the Style tab and select Body (All Pages). Now go to the Typography section below and change the font as per your need. Changing the body font will affect all fonts on the entire site.
Template Support
We'll be glad to help you out with your queries. Please contact us at hello@paperunicorn.co and you shall hear back very soon.
Custom Design & Development
If you are looking for Custom Design & Development with Webflow, feel free to reach us via Reach us out here.
Important notes:
- The Signup, Login and Dashboard pages are independent from Webflow's Memberships Functionalities and to make use of these pages and to gate certain content, please get started with Memberstack
- To add the filter functionalities to the Basic classes pages and Premium classes pages, make use of Finsweets filter functionality. Add the script provided to the <head> section of the page
-
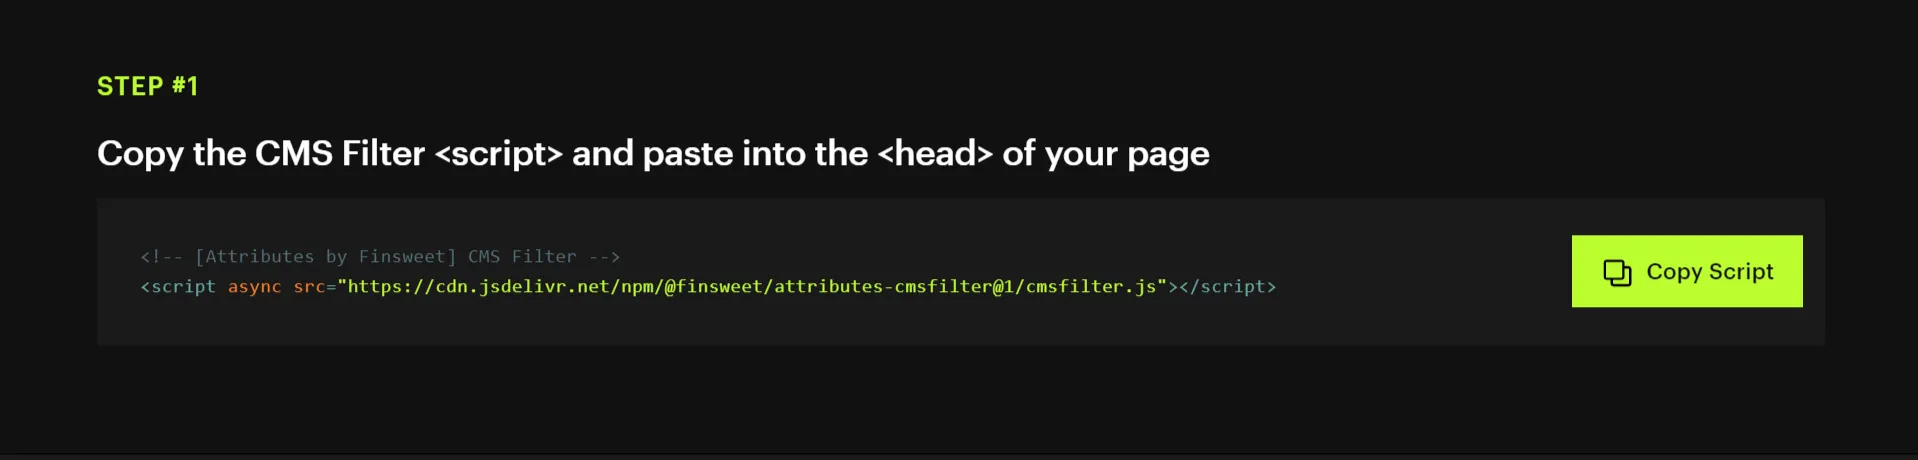
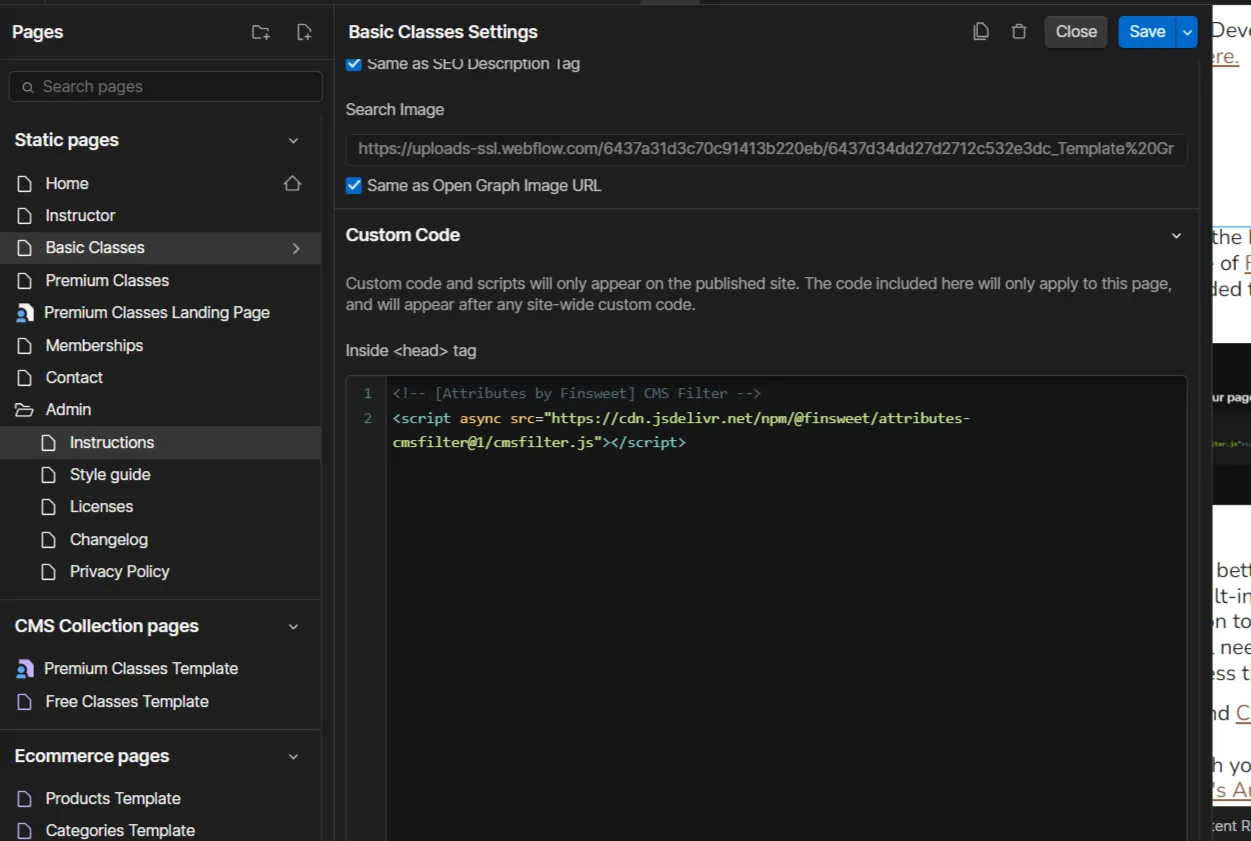
All attributes needed to make the filter functionality work have been added, simply save and publish your website.
- Compress images to WebP: For a better loading site, compress existing image assets with the built-in WebP conversion tool. Please note, Webflow compression tool is currently not available within the CMS. You will need to manually convert them to WebP format and compress them separately.
- Clean up: Clean up interactions and Clean up CSS styles before publishing your site.
- Audit panel: Before going live with your site, find and fix accessibility issues with Webflow's Audit panel.
- Compressing Images: For a better loading site, we recommend optimizing all your images using services like Tinypng.com
- SEO: Before publishing your site, make sure to edit the Title Tag, Meta Description, etc. For more information on SEO and how to optimize your website, Visit Add SEO title and meta description and SEO and Webflow: the essential guide.
- SVG: For a superior visual experience, we suggest using SVG icons and logotypes. To find a wide selection of SVG icons, you can browse Icon Finder and use the free filter to refine your search.